

Could be cheaper with smaller SD storage and no WIFI
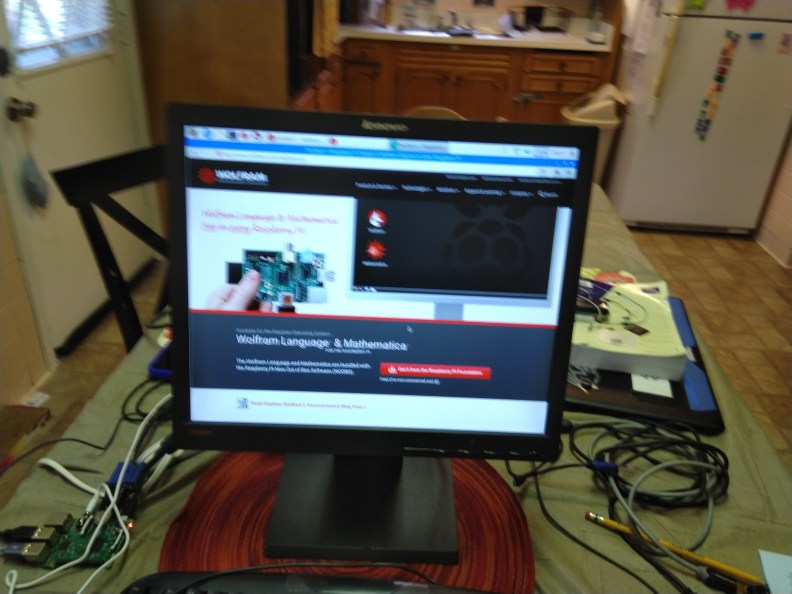
This took an hour to build. I goofed around with Python, Wolfram and Minecraft. It’s fun. I built my kid a computer for less than $100. A cheap SD could have saved me $22, and no WiFi, another $30 if I’d used an old Ethernet cable instead of a dongle. All of this stuff was in a box for three years, and it all works. Totally love the productivity software and browser. Super fast loads.
Abandonware can be found in old Gen X and Millenial homes and apartments across America. I assume. I live in an abyss, who can say? Save money on cables and keyboards and optical mice.
I could have spent the extra $50 on a cooling system. I will have to do that anyways. This thing runs hot. It will be used to program stuff with Micropython and Arduino.
Gear
- Pi …$35
- Monitor …free
- WiFi dongle …$30
- SD card …$20 (32 Gb, bigly)
- Mouse …free
- Keyboard …$10
- USB 2.0 …free
- Power cords …free
- VGA-VGA. …free
- VGA/HDMI …free*
- 5 V supply …free
- Speakers ….free
- Case and fan ….optional abandonware
Procedure
- Download Raspbian.
- Download SD formatter – I used Etcher.
- Format SD card.
- Download Raspbian unto your SDs.
- Power everything.
- Load SD into SD slot on Raspberry Pi.
- Consider directories, paths, automation, networks and organize your Pi area.
- Play Minecraft for three hours and tell spouse you’re “testing the equipment”.
- Cool device, especially if placed in a case and running WiFi.
- Get speakers.
Vendors
Software
NOOBS is an easy operating system installer which contains Raspbian and LibreELEC. It also provides a selection of alternative operating systems which are then downloaded from the internet and installed.
- You will need software to prepare your SD card to receiveth thy NOOBS, so I chose Etcher. It was easy to use.
- Or buy Noobs preloaded on the correctly format SD card. I chose Adafruit because they have a universe of DIY stuff, like this portal to IoT stuff you can develop.
- Consider serial displays and GUI like Eclipse or PuTTY for tweaking transmitters and receivers. Spitballing here.
Hardware
- If you need a VGA/HDMI adapter, find one here. Cheaper than a new monitor!
- Get a fan and a case and a power supply. I found these on Amazon. These are, of course items light enough for local drone delivery. It is possible to use a Pi to control a drone. Cheap.
- Build a drone with it. There are a million ways to do it. Here’s one way. I found this immediately on a Google search. Microsoft recently purchased Github for lots of clams. Lots. I really enjoy the data management tools available and look forward to seeing synergy between Microsoft and Github. It will fuel innovation and industrial control systems. Not expensive, not cheap.
- Get other remote sensing packs. Reccomend Adafruit, or Texas Instruments for wireless development. Check Hackaday, Github, Instructibles, Element14 or Sourceforge for news and views. Prices vary.
- WiFi dongles are cheap. In 2015 I paid 3x for this.
- Print parts as needed. Thingverse, Shapeways, go for it.
