Why I am making a mask instead of painting
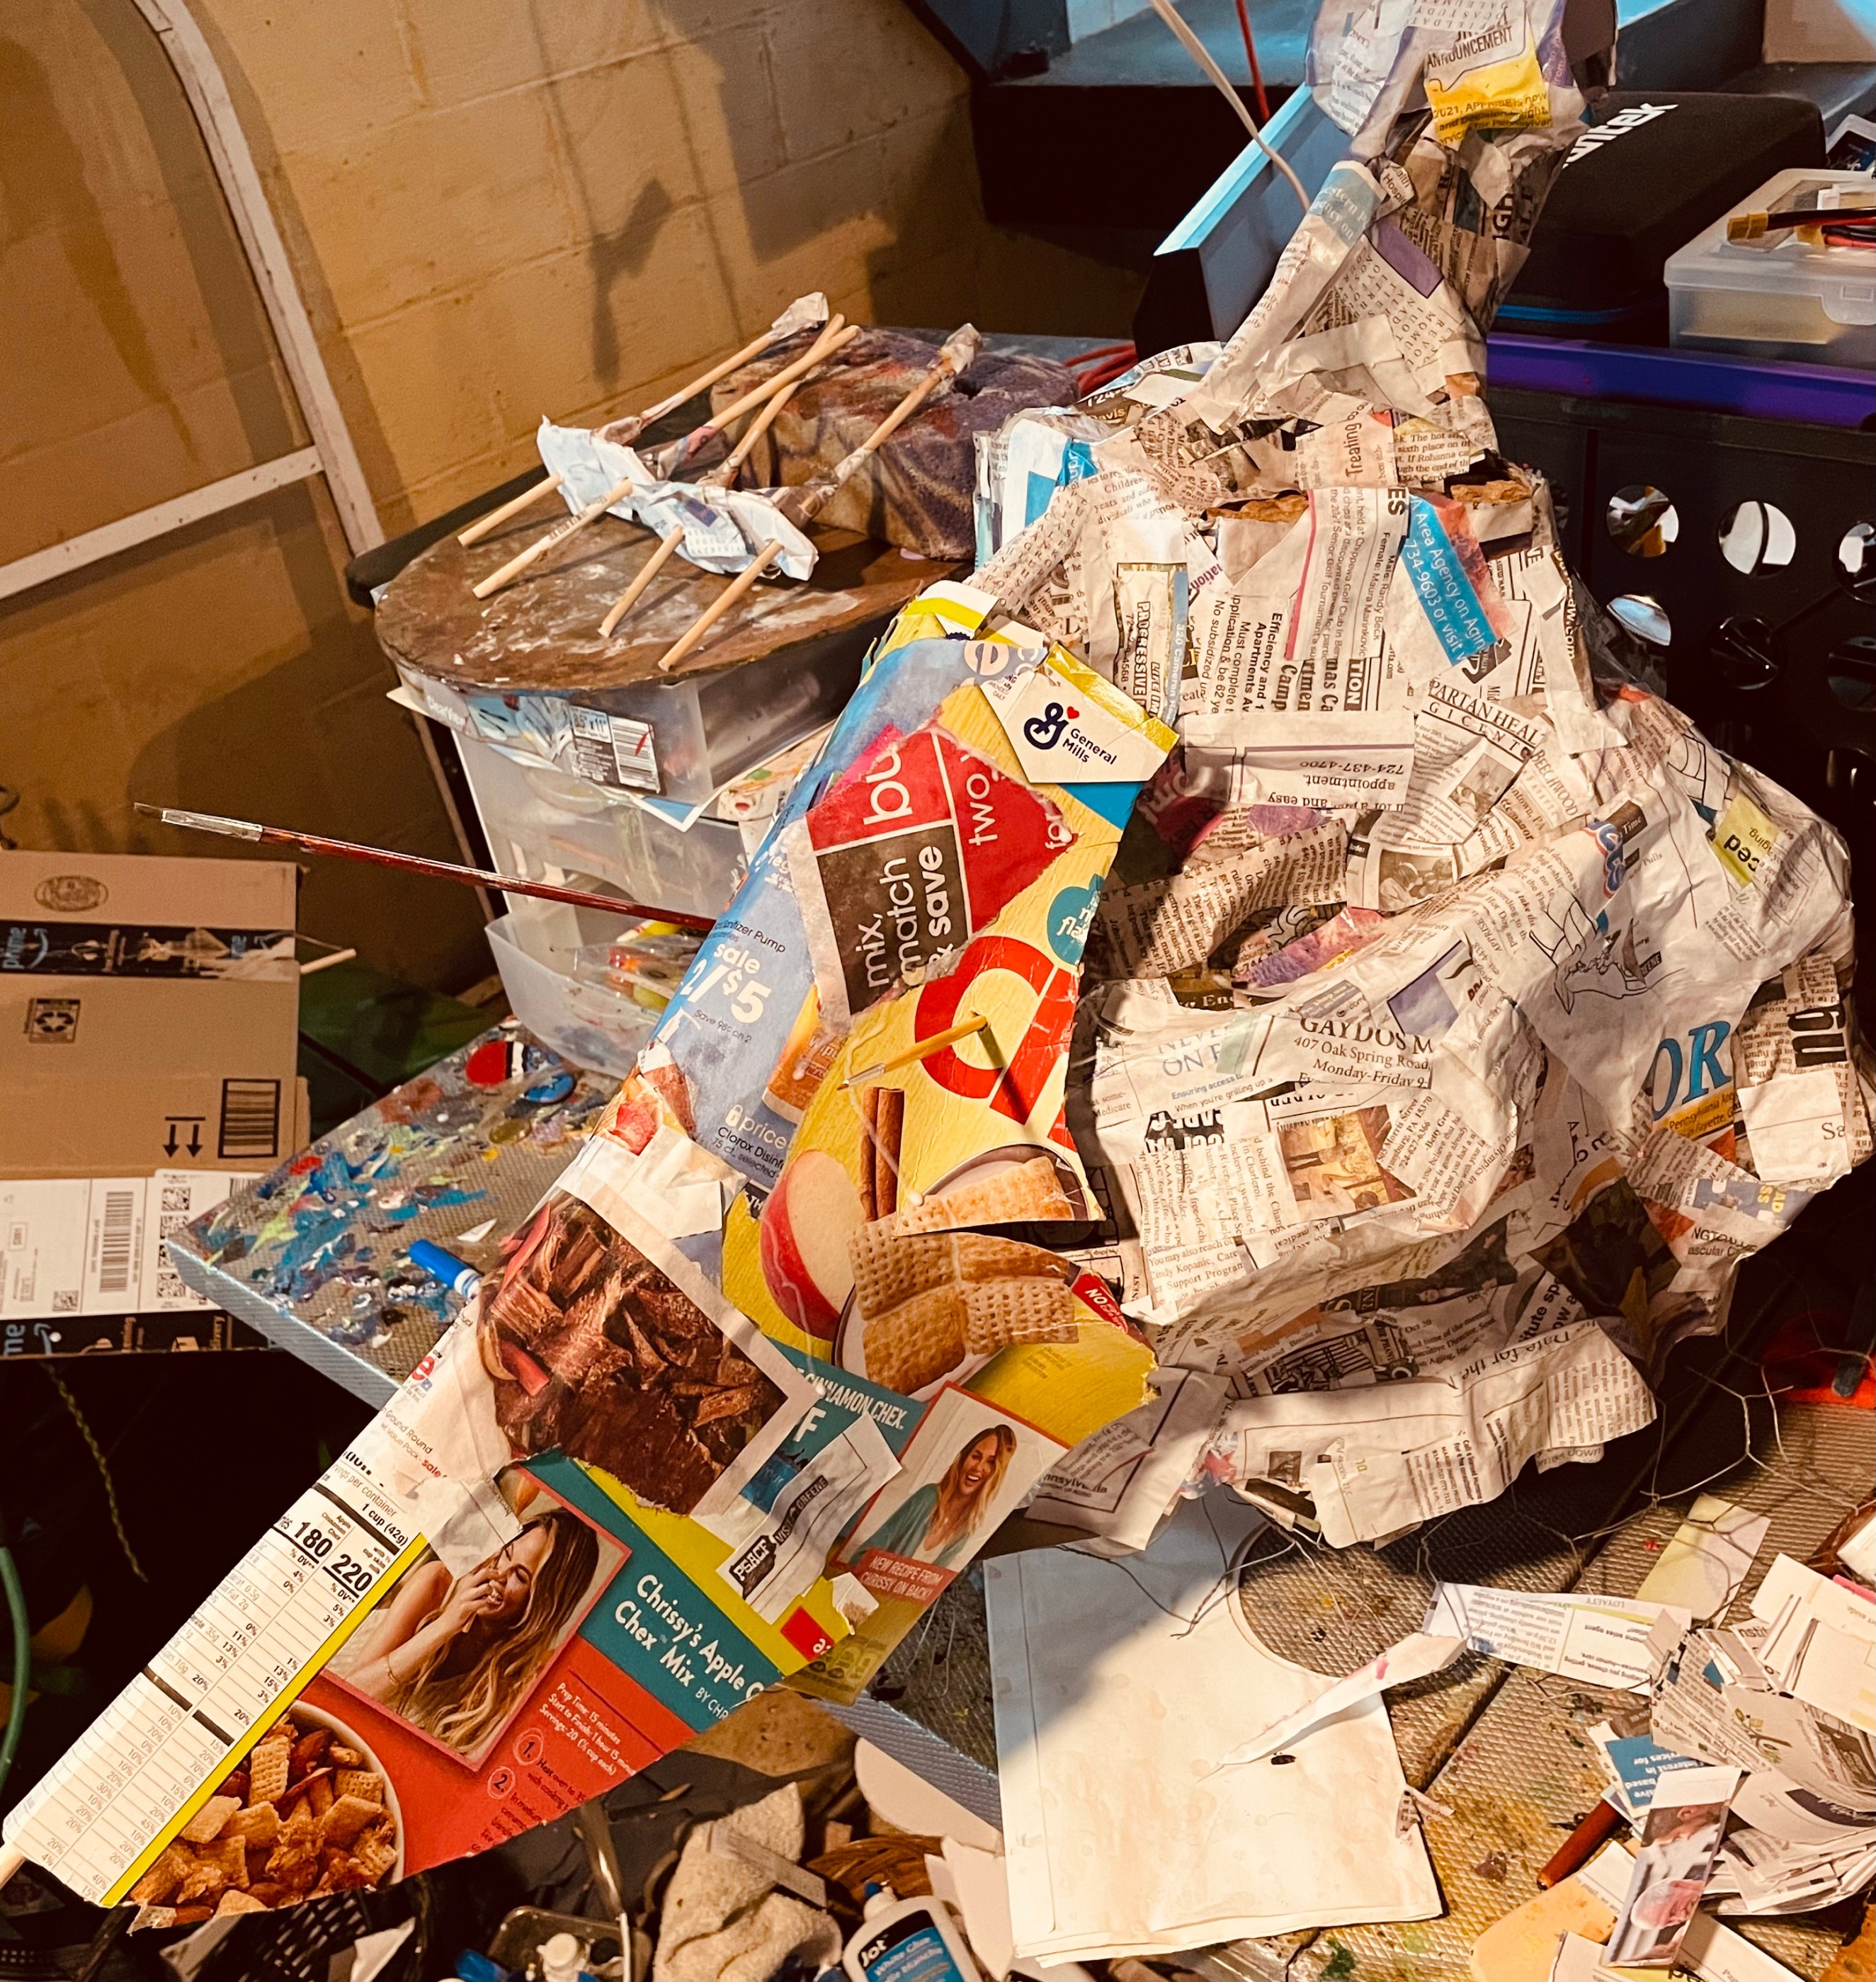
I assembled a DIY personal assistant for educational reasons while I was watching oil paintings dry. I also started a mask for Halloween. Why am I not painting? Exhibit A: low-rent medium. Recommended for base coats.

Instead of using nice, refined linseed oil for some recent oil paintings, I opted for a can of cheap carpentry linseed oil. I let it sit outside in partial sun for five years. Check out that dryer lint. Now it’s refined, in a way, but it makes the thick paint strokes sort of doughy and unable to bond to canvas if varnished too quickly, so I used some liquin to dry out the paintings.

It helps. I like for the paint to be not sticky whatsoever when I add varnish. I varnish the paintings because my cat throws up on everything.
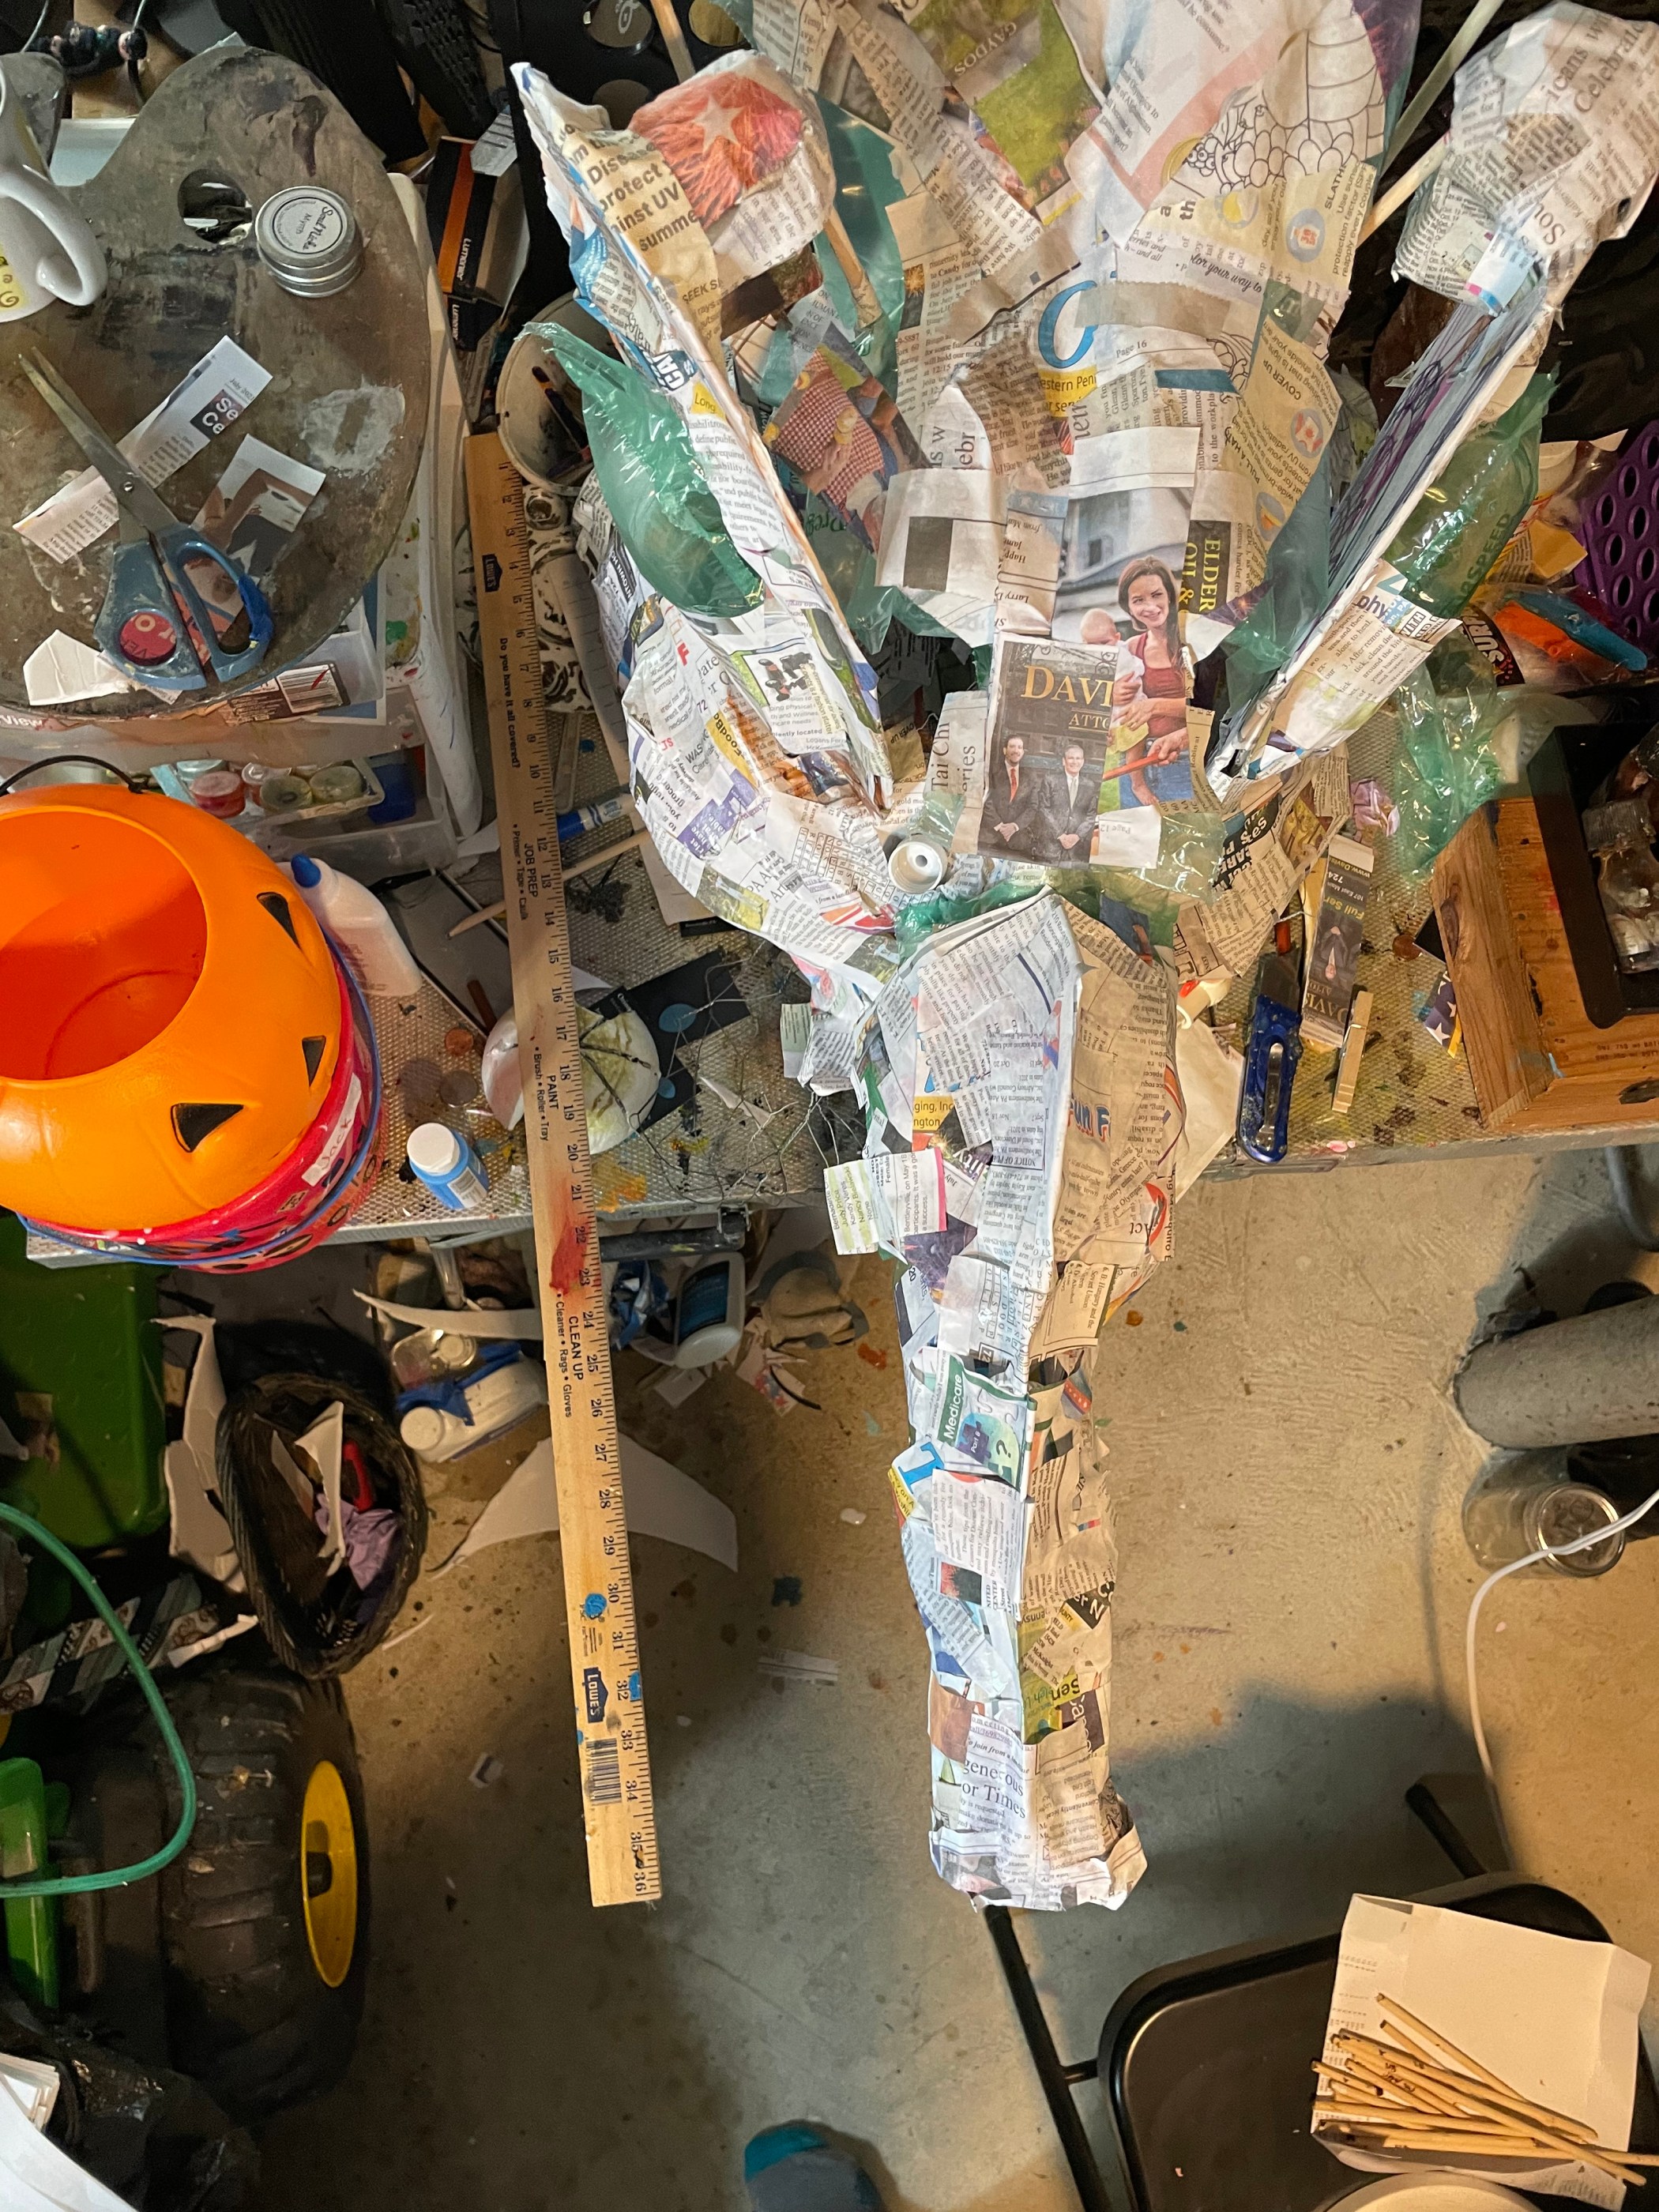
I am mounting the layered newspaper on chicken wire to form the mask. The wire structure is resting on an overturned 2 gallon plastic drinking cooler atm which I draped with a plastic bag. If the bag sticks to the wire, it becomes part of the head harness, so no worries.
The Plan
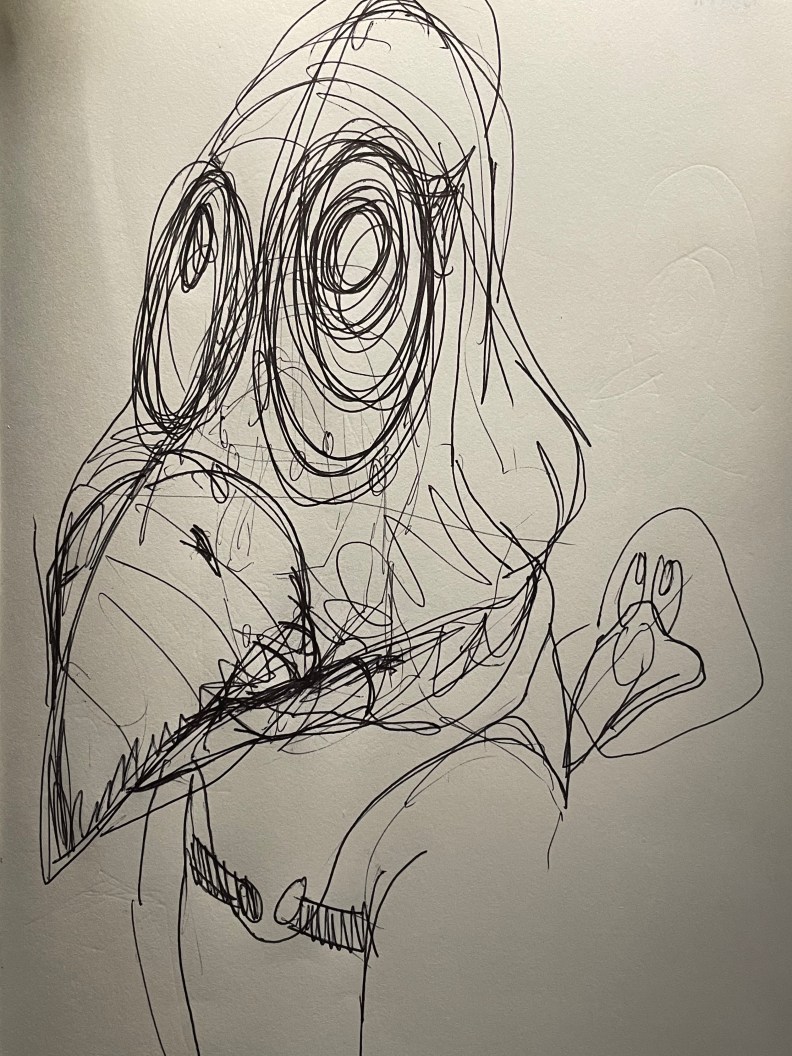
I made some sketches and measurements. I will start with a dumb helmet, then, over time, add electronics and animation. I might bolt this to a bike helmet. The construction of the mask is presented in three parts, beginning with drawings, and ending g with a video.
Sketches and measurements

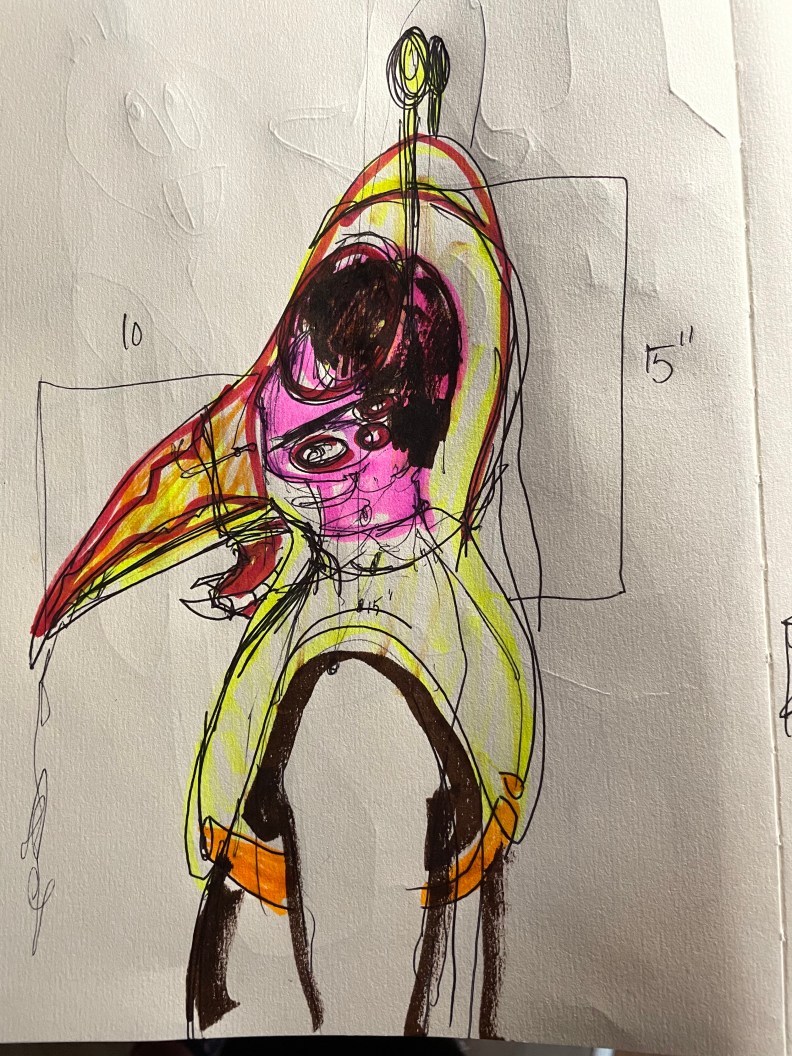
Maché
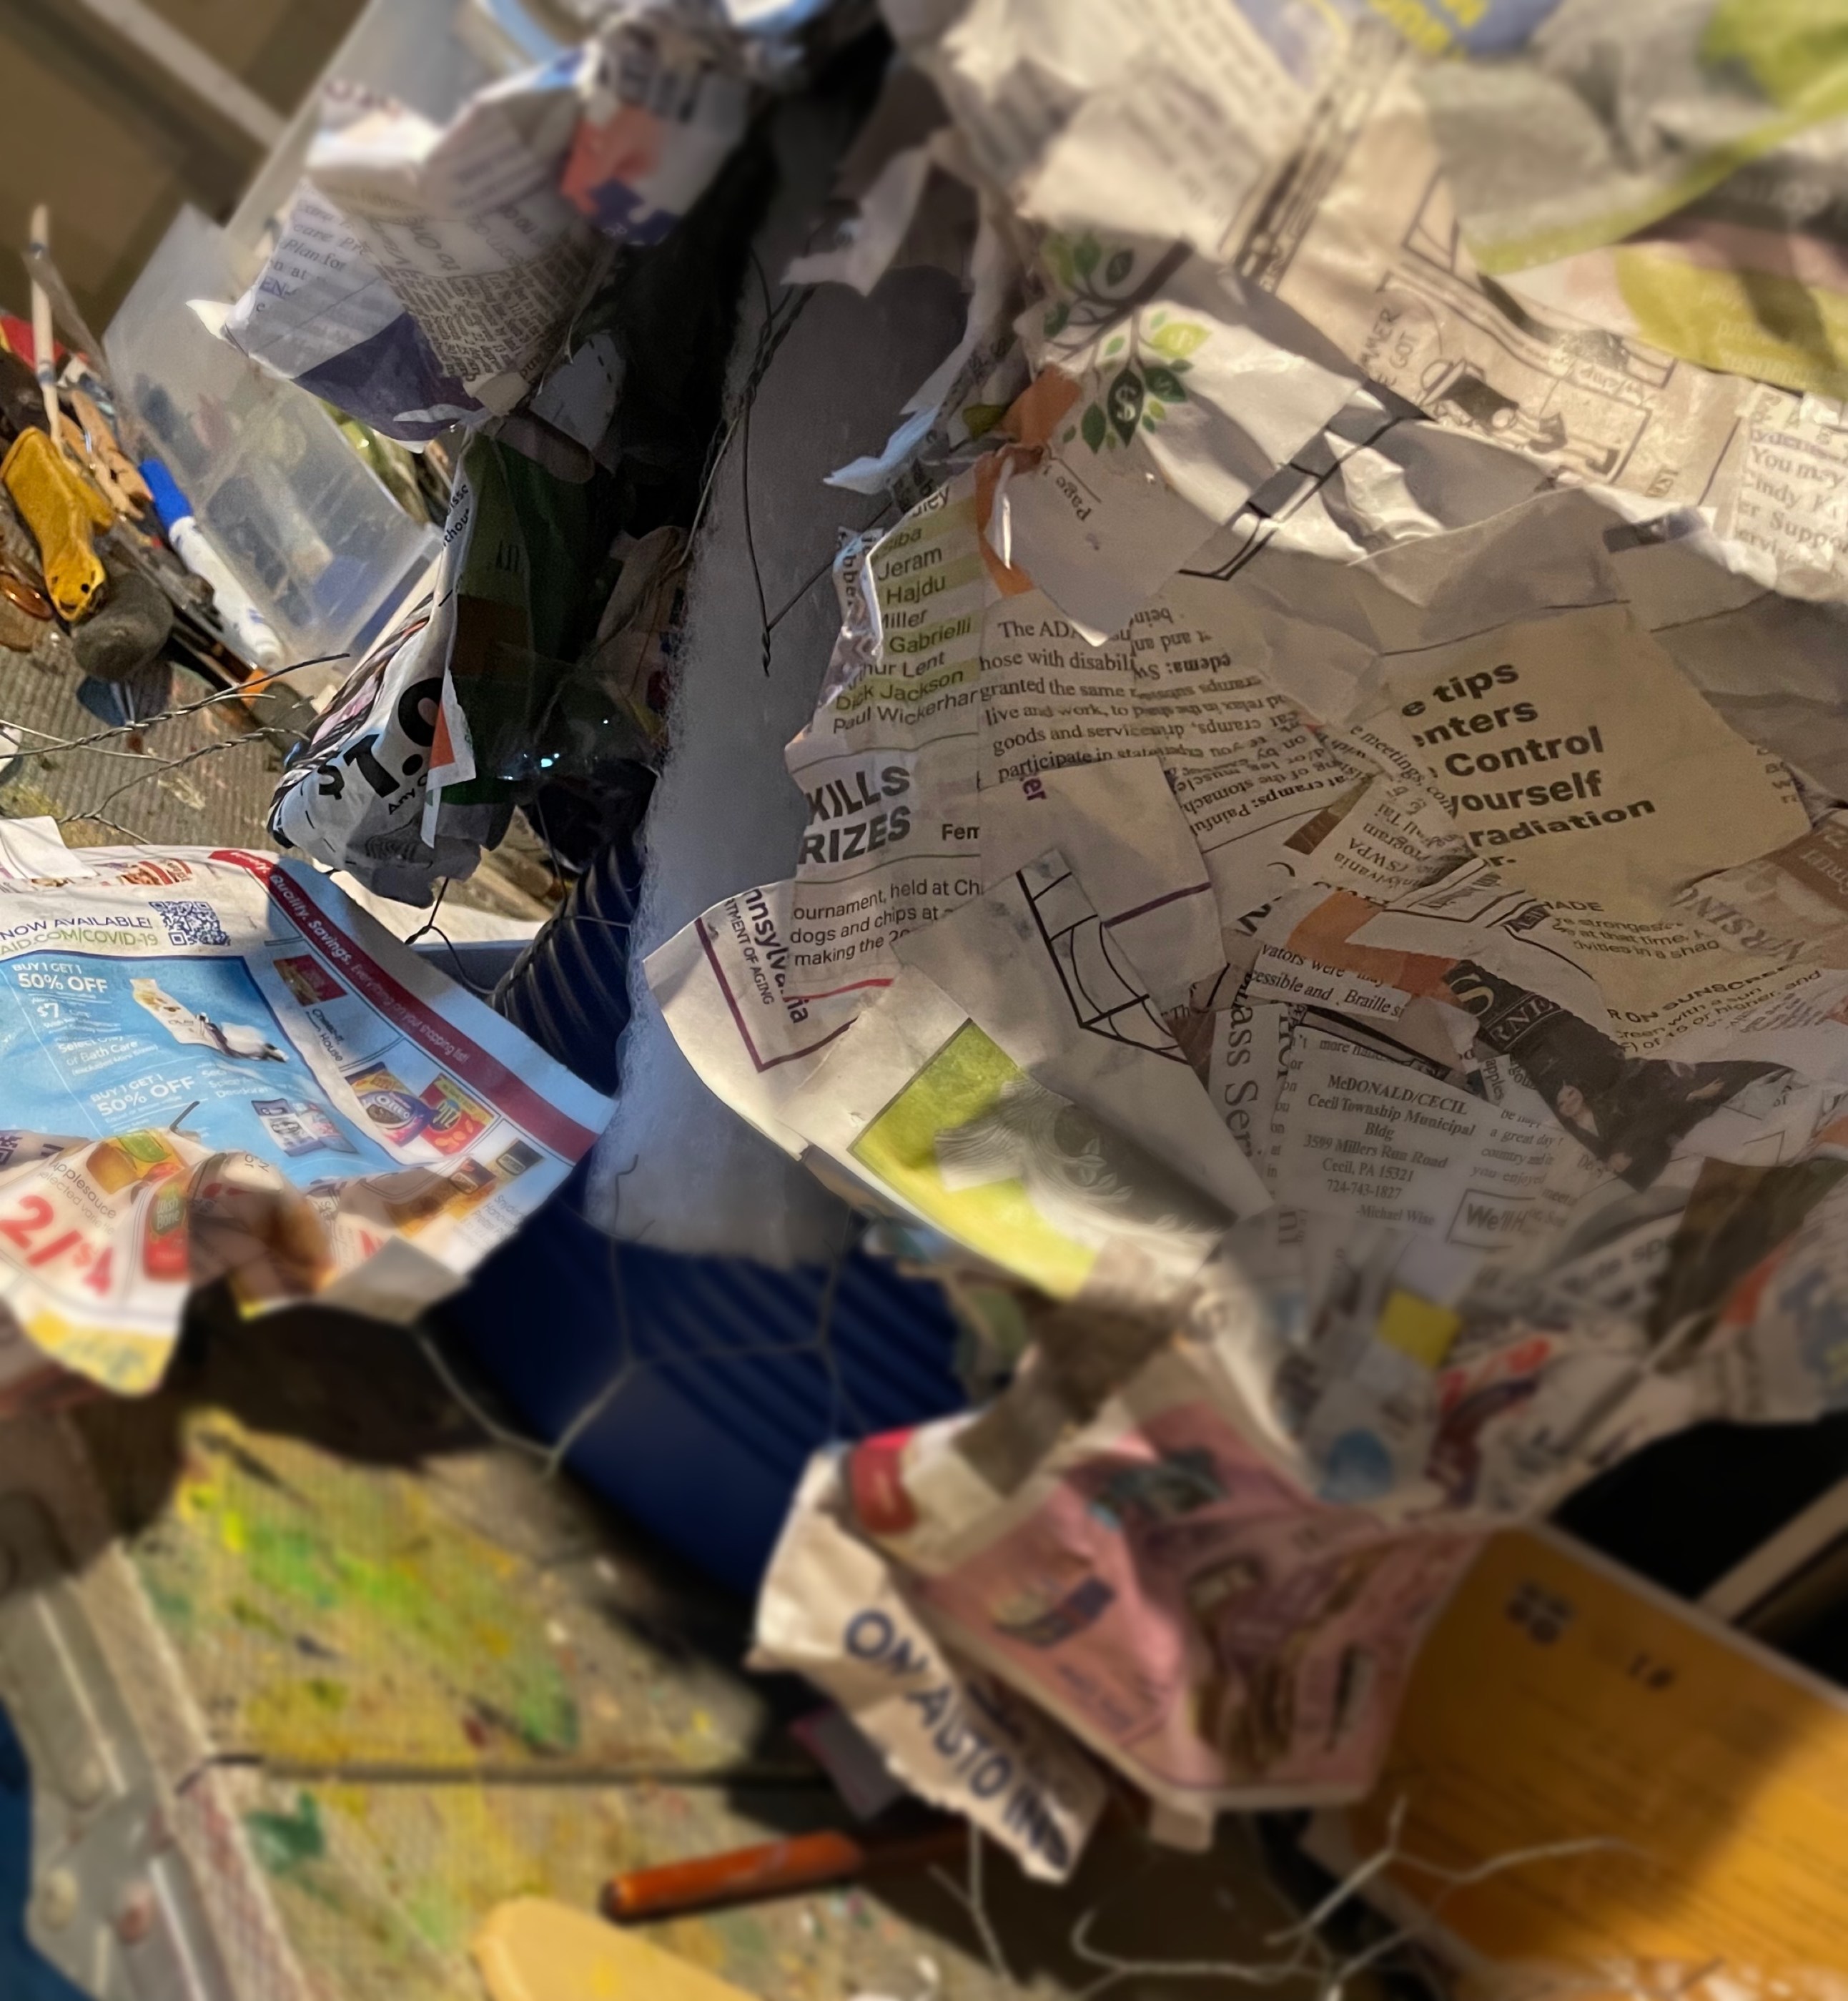
I used 1” x 3” strips of paper. I also used a tiny squirt bottle filled with watery glue. The first layer went on with a minimum of glue. I switched to a bucket. The glue cleaned my craggy fingertips, bonus!
Updates next week…
I am running into the problem of not having any free newspapers available. Because 21st Century. I can use brown paper towels, though.
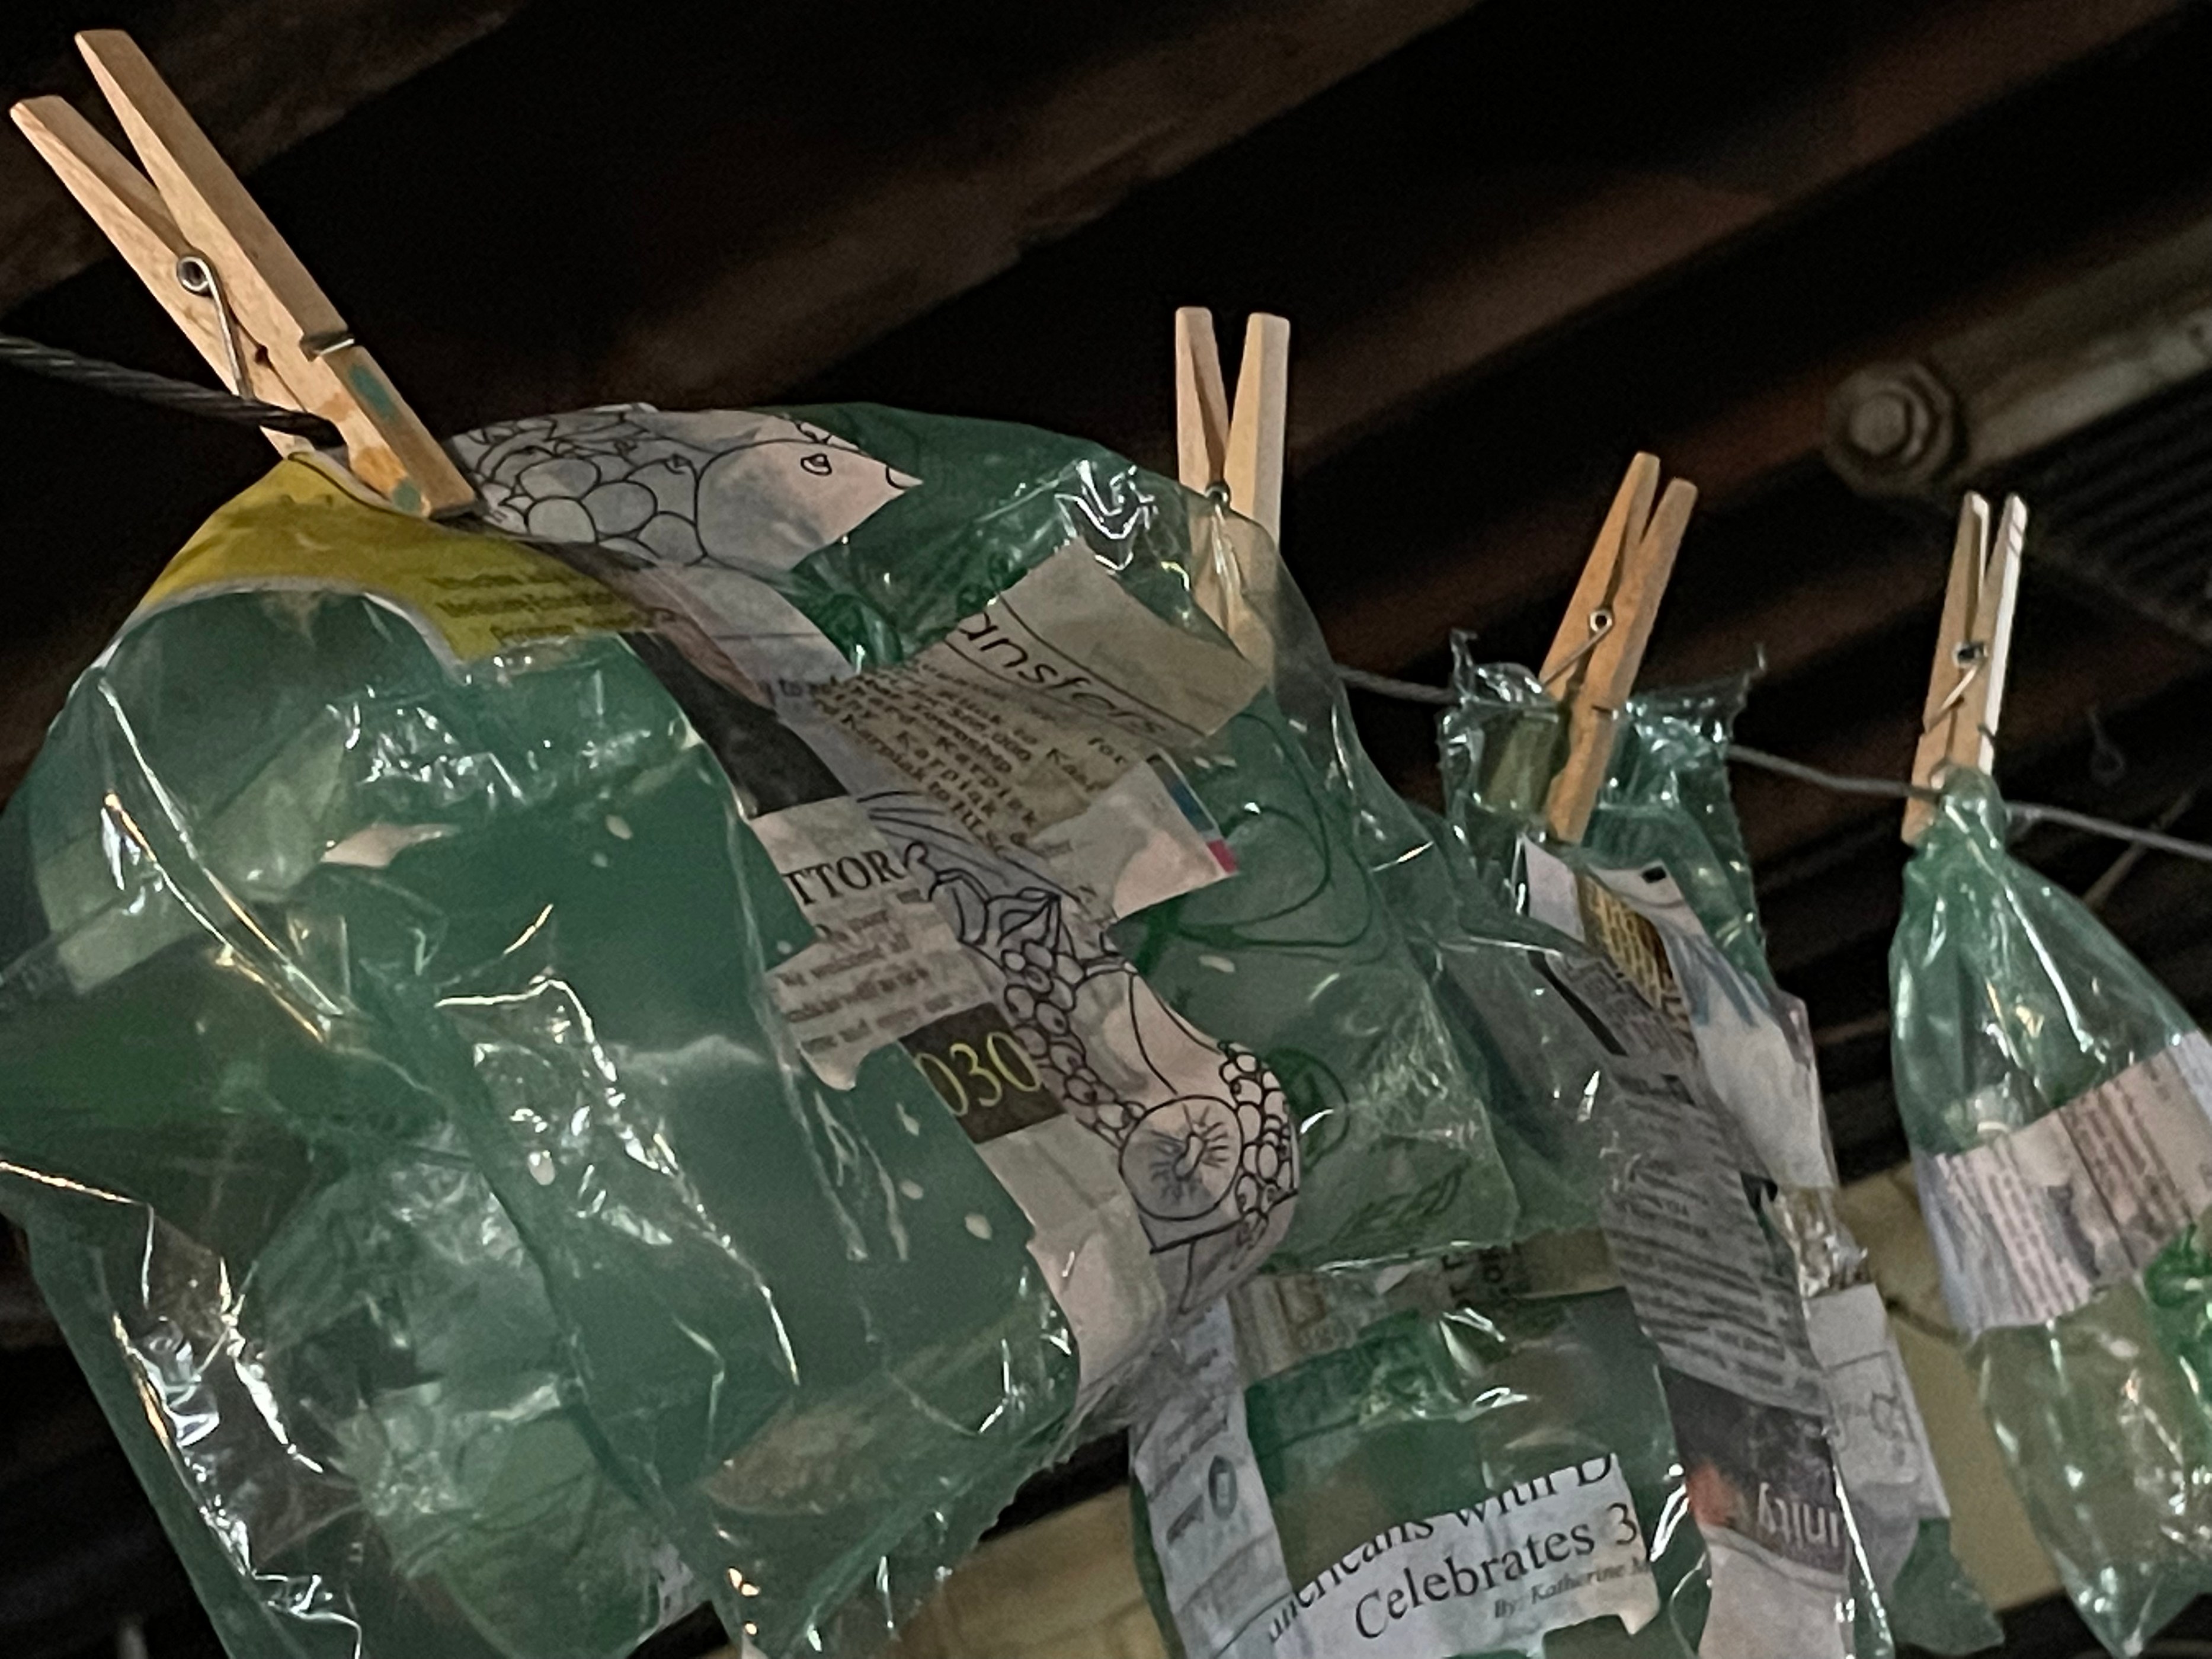
I used a strip of styrofoam for the plumage instead of a roll of newspaper to keep it light.
Prostheses
I need fifteen layers? Nope.
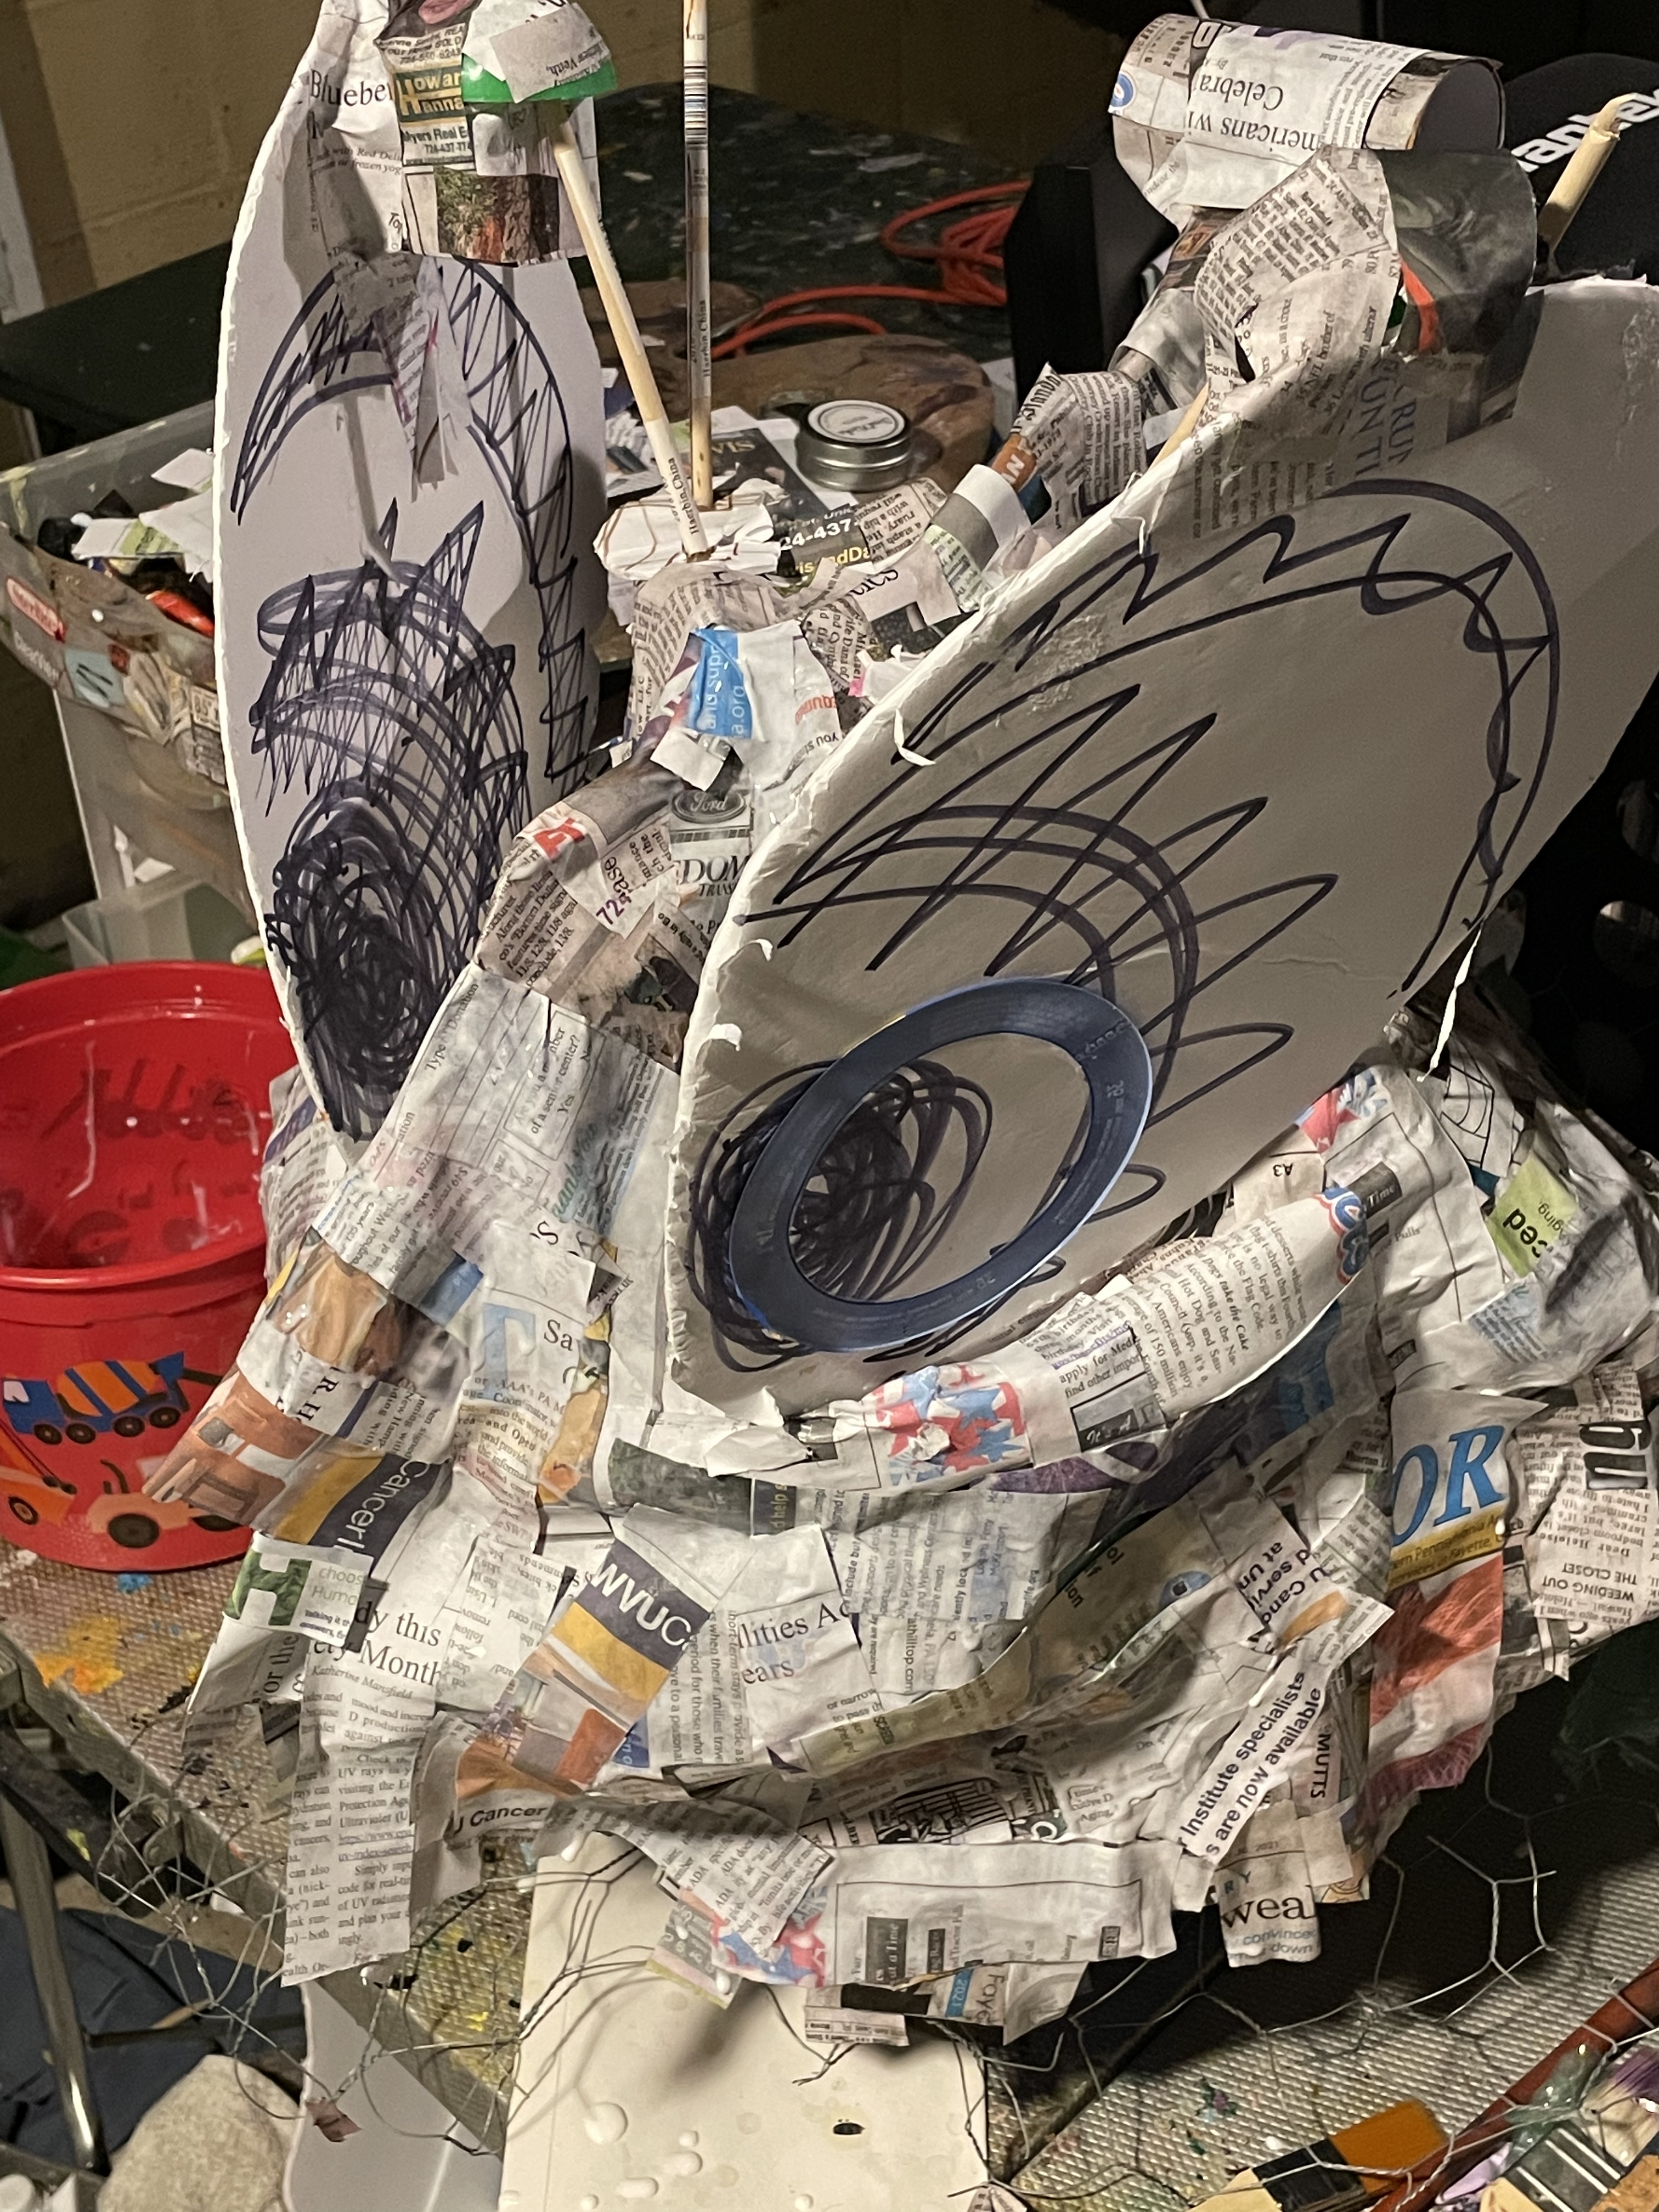
The eyes are elongated vertically. They will be inserted into the two shallow sockets and connected with a Y-shaped tubing to allow for animation controls.I am making the eyes detachable. The foam in the picture is just a reference. This is maybe six hours of work so far. It was slow to start. It will be ready for varnish next weekend, maybe sooner.
I use glue and water. Mostly glue. A bit of water. Pancake batter. Smells weird. Flour can mold, so nope. After another ten layers, and approximately 2 more pounds of glue, five more pounds of newspaper, and maybe a bike helmet, I will have my first paper mache Halloween mask. I have already used three pounds of glue as of 09/04/21.
Progress and Pivots
I calculated the weight. Probably 15 pounds….I found a bunch of packing bubbles. I am filling the cheecks with them, using them for eyes temporarily. I am trying to shed 3 pounds.
The entire mask receives a final layer tomorrow. The day after that, I use wire cutters to cut the holes for viewing and breathing.
The eyes are detachable. They are going to hang from ball sockets, restless eyes. I might replace them with Mylar and optic fiber, or opera puppets. I am replacing the plumage with a small skyline or some other absurdity. It is already sturdy enough to wear, but I know it needs at least one more coating of glue. So, I am using the Mr Potato Head approach to maximize possibilities of design changes to the mouth, nose, forehead, and eyes.
Eyes, beak, other attachments
All of these items move the COG away from the center of the empty space within the mask, so none of these items will be attached until they are weighed. The headpiece has a rear mounting cylinder. The cylinder is apropos for a step motor and even an accelerometer. Like, later.
I could make the eyes rise and fall to keep them pointed at the horizon if I used an accelerometer, motor, and driver. Attach an arm to a linear track to crank the eyes up or down. Crenulate the horizontal segment of the control arm, and perpendicular to it, attach long spikes that protrude Through the top of the mask, and attach small birds to the spikes, so they rise and fall minutely above the mask as it moves like long, tiny piston heads. Too much alliteration and daydreaming never hurt, but it isn’t work.
I could pump liquid through the eyes, fill of glitter. I could attach a lightweight fan and have it blow confetti around a translucent skull with a base shaped like a funnel.
I am going to use string, so I thought, instead of boring grommets, why not thread the bore and screw things onto the mask? I could use the screws and string to replace the beak with a mouth, or the translucent skull with a cityscape, a creature sitting atop my head, optic fiber and feathers, lights, whatever.


I snipped the ends off the glue bottle screw caps, carved two holes in the mask, and inserted the caps. Then I painted the entire mask with six more ounces of glue. A fitting is needed, so I wait for the glue to dry…
I did not wait. I began the beak and default headpiece. It’s getting easier to make this mask. I still have about two pounds of paper to cut.

Fitting
I will use a pool noodle to build trusses for the snout, collar, and helmet within the mask. The fitting is going to determine what happens next. It’s not going to help me make friends, for example. Getting vaccinated will help me make friends.
Time is a luxury to spite my face
I scrapped the original nose. Napoleon! It was going to require a lot more work than was necessary. Welcome to Nose 2:
Bust
I began the undergirding of the mask. The slapdash collar merely conceals the neck. I used rolls of coupon sheets to cinch the mask tighter around the neck.
Th mask is too big. My head fits in it. The inside of the mask AND the headpiece is going to dominate the next two days. I have to build mounts for the beak. It actually hooks into the mask behind the ears, and will form a giant pincer around the mask. That way it is balanced.
Skull and Eyes
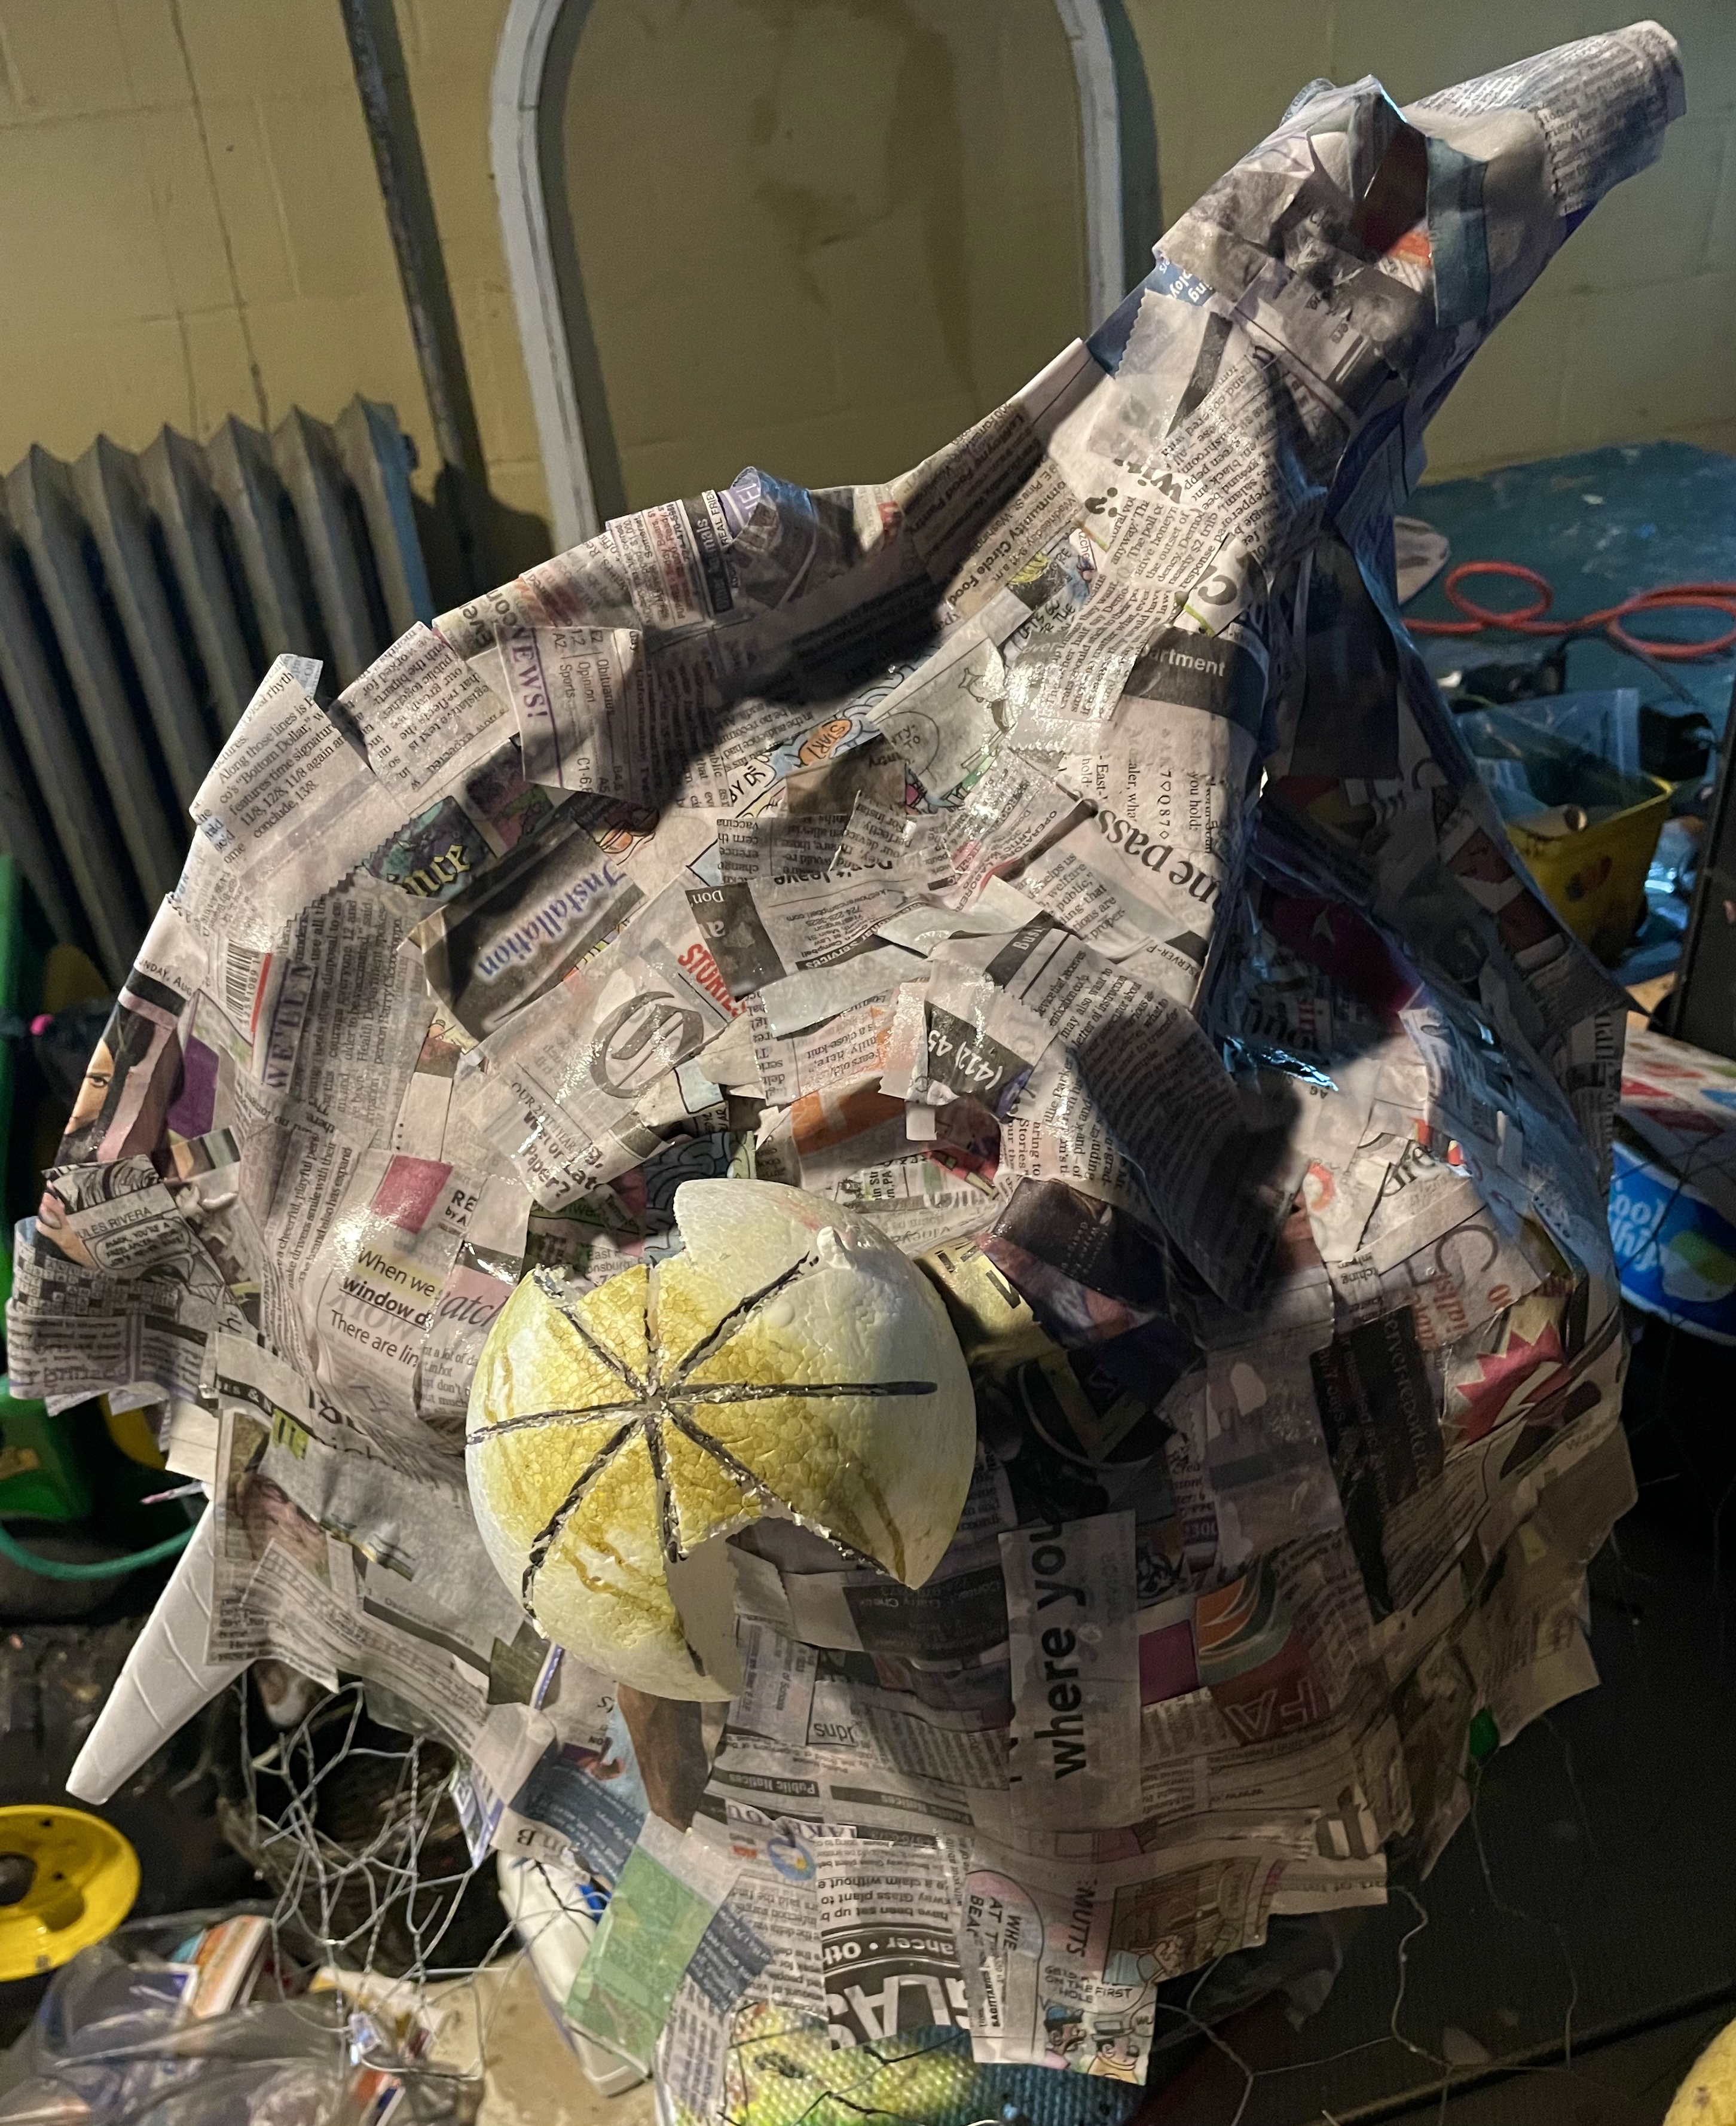
I wrapped seven balloons with papier mâché a few times, then cut the manifold. The shape was pyramidal, with two balloons resting unevenly atop a five-balloon raft. The eyes were two different sizes. No worries.
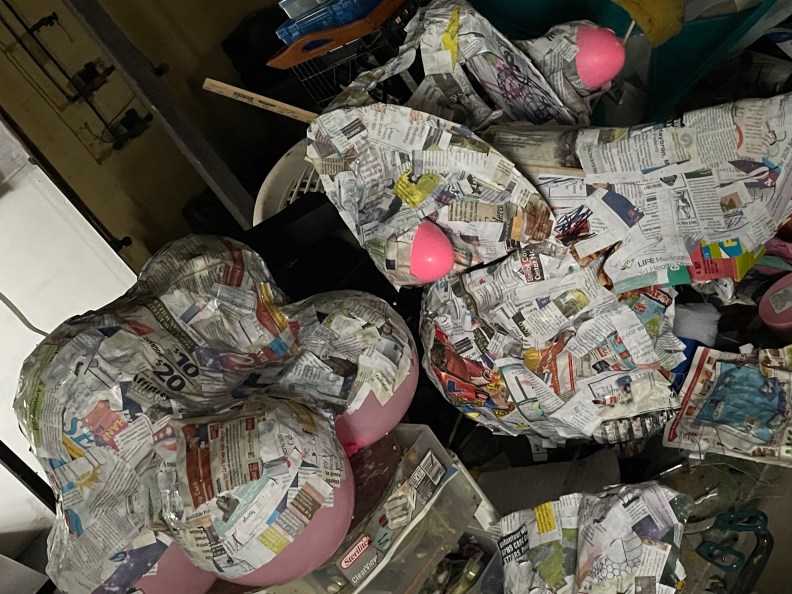
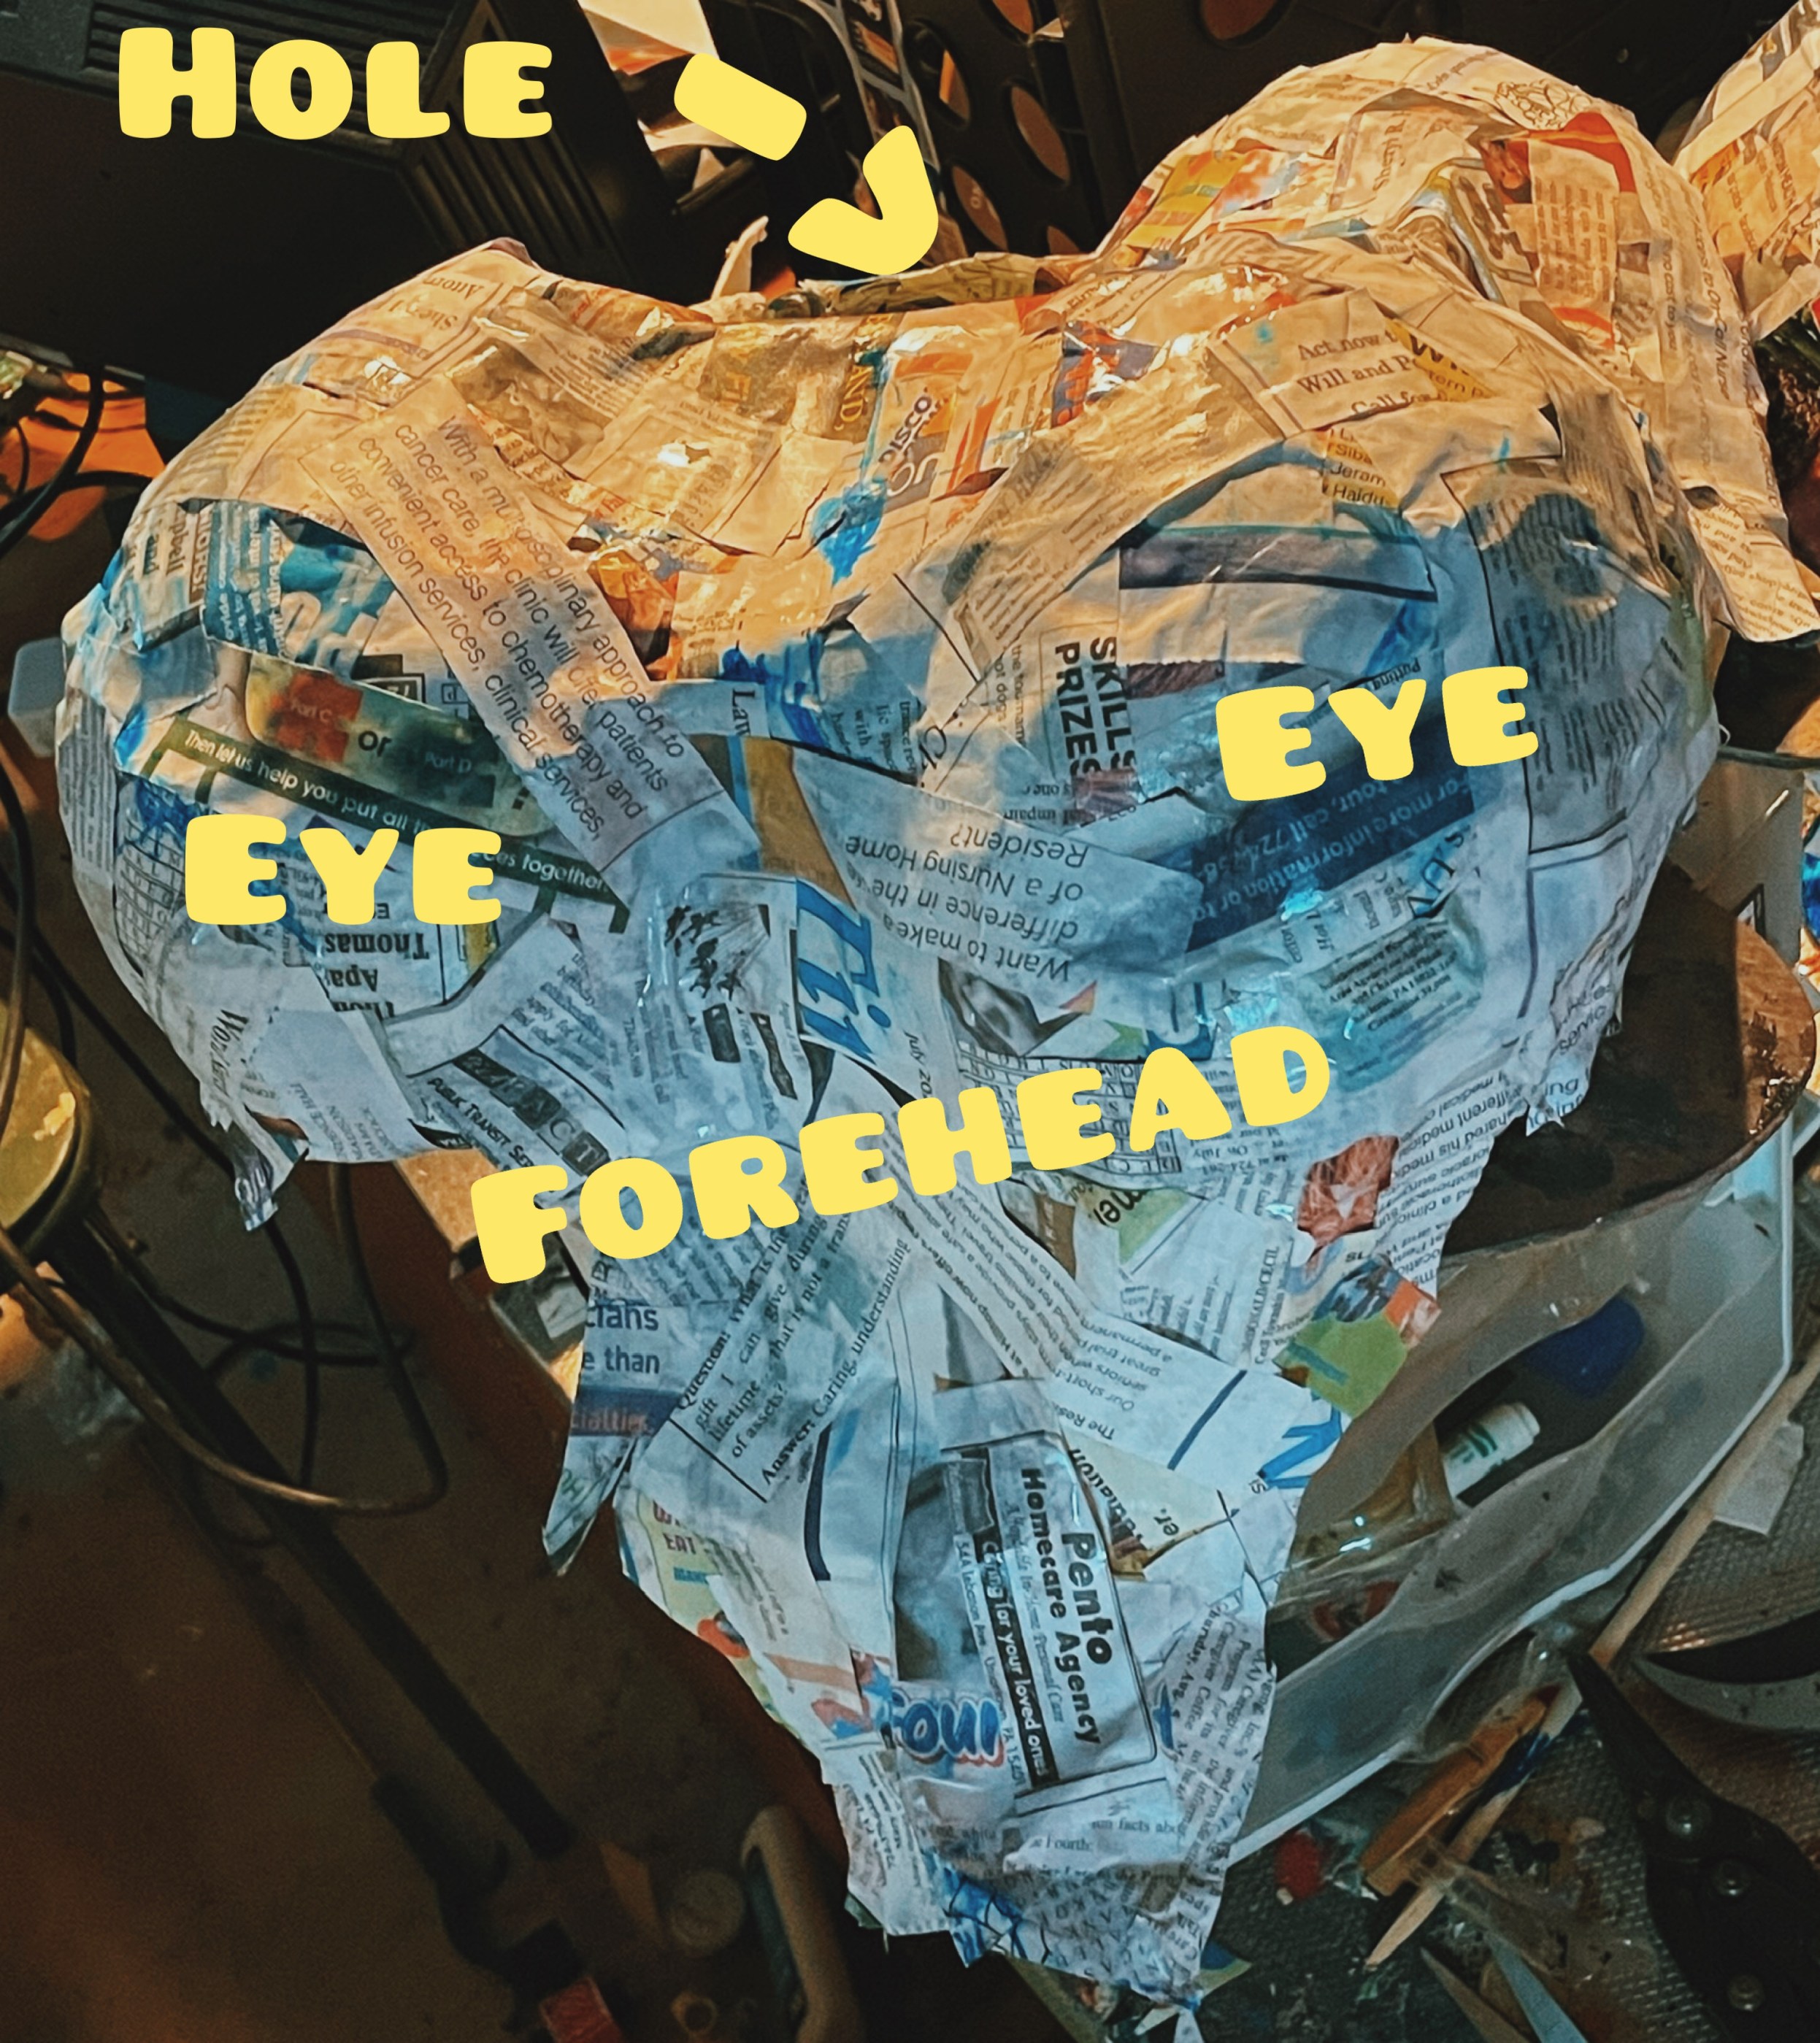
I cut two orange peel slices off the forward balloons. I then glued them to the eye plates. I cut the useless upper handle above the head stub to cut weight. I scored the forehead section vertically. I had to scoop some extraneous paper from the inside, get the balloon trash out. I felt like I was cleaning a pumpkin. Lastly, but not pictured, I cut a hole for the mounting post on the real skull.
Buttoned up, the forward lower globes hooded the eyes, while the orange slices formed the rear of the distended eye capsules. It was not quite snug, so I excavated from one of the awkward upper skull globes for a globe-like fit. . The imperfection was a single-point, load-bearing fastener, an opportunity for a hole, and that means room for wires or other junk I could use to jazz up the top of the head with lights or whatever. I look forward to lighting it up with a hundred LEDs. Cray.

Assembly
The pictures of the mounted skull and eyes and stuff arrive after fresh glue dries. This is a week or so into the project and it is starting to feel like crossing the beautiful and majestic Alps by drunken elephant.


I guess I’m having a Close Encounters of the Third Kind sort of summer. Glorious. The final form will be smoother, sanded, gleaming, and the eyes will be animated somehow.
Counterweight
I need a counterweight for the eyes and beak, so I built a shelf to connect the beak by way of a laurel pincher. I will use a bit of chicken wire to reinforce the connections and for fashioning buttons for the front.

Eyesight
I am going to be looking out from the neck , so I am going to wrap the aperture in the throat in one-way magenta Mylar.